Trade Show Display Ideas: Pop-Up, Modular & Custom Options + Best Practices
Why Displays Make or Break Your Booth
Your displays set the tone for everything else. They frame your products, carry your message, and are often what people see first from the aisle.
Strong trade show display choices—whether that’s a simple pop-up or a full modular system—can dramatically lift the number of people who actually stop and look around. When you pair smart display choices with solid booth design basics or proven 10x10 layouts, the whole space feels more intentional and far more professional.
Start with what you can afford now, then plan how you’ll step up to more advanced options as your shows grow, using a full-service partner when you’re ready for the jump.

Table Of Contents
Trade Show Display Types That Actually Work
Design Tips That Help Your Display Stand Out
Budget Ranges and What You Actually Get
Practical Tips to Get More From Your Displays (and Activations)
Trade Show Display Types That Actually Work
Choose your display type based on how often you exhibit, how much you can spend, and how flexible you need the setup to be over time.
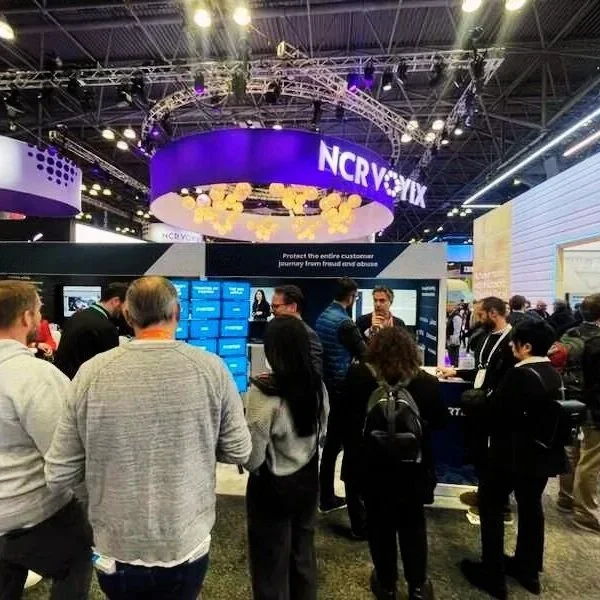
Pop-up displays
Modular display systems
Custom-built displays
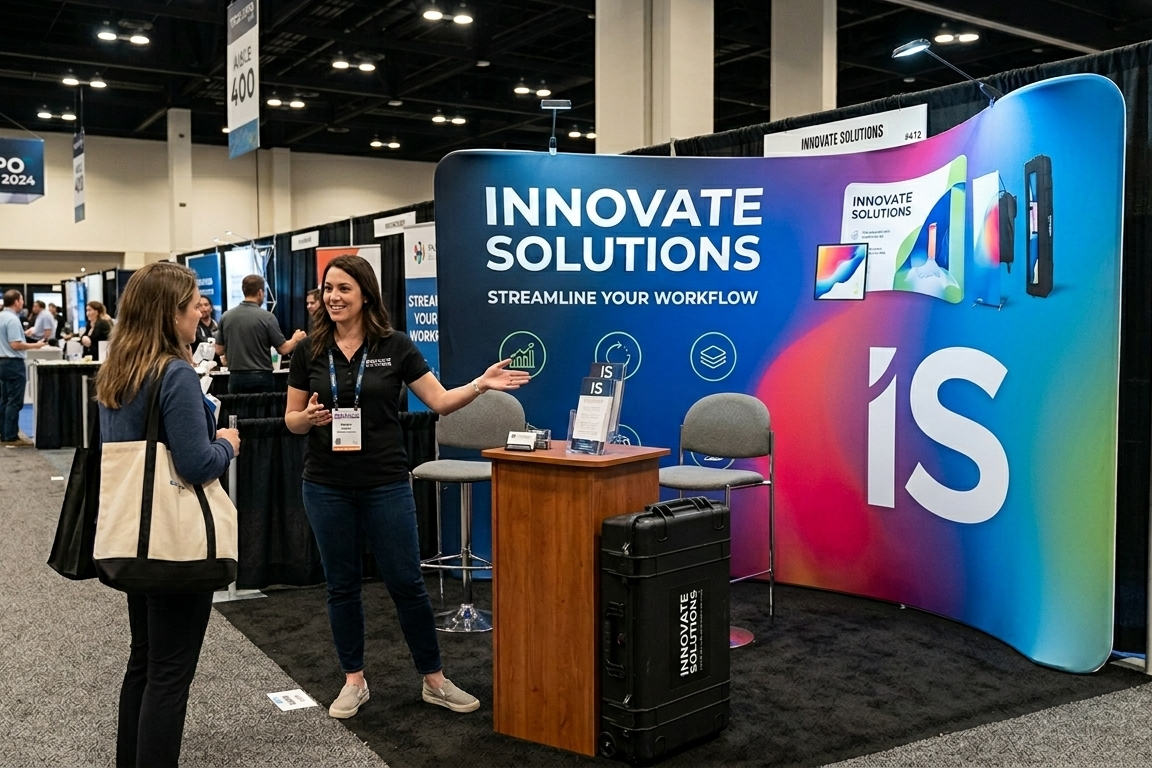
These are the classic quick-setup walls made from fabric or tension graphics.
They’re ideal for 10x10 booths, first-time exhibitors, and teams that need everything to travel in a single case.
Most pop-ups can be set up by one or two people in minutes, and you can swap graphics between shows without buying a whole new frame.
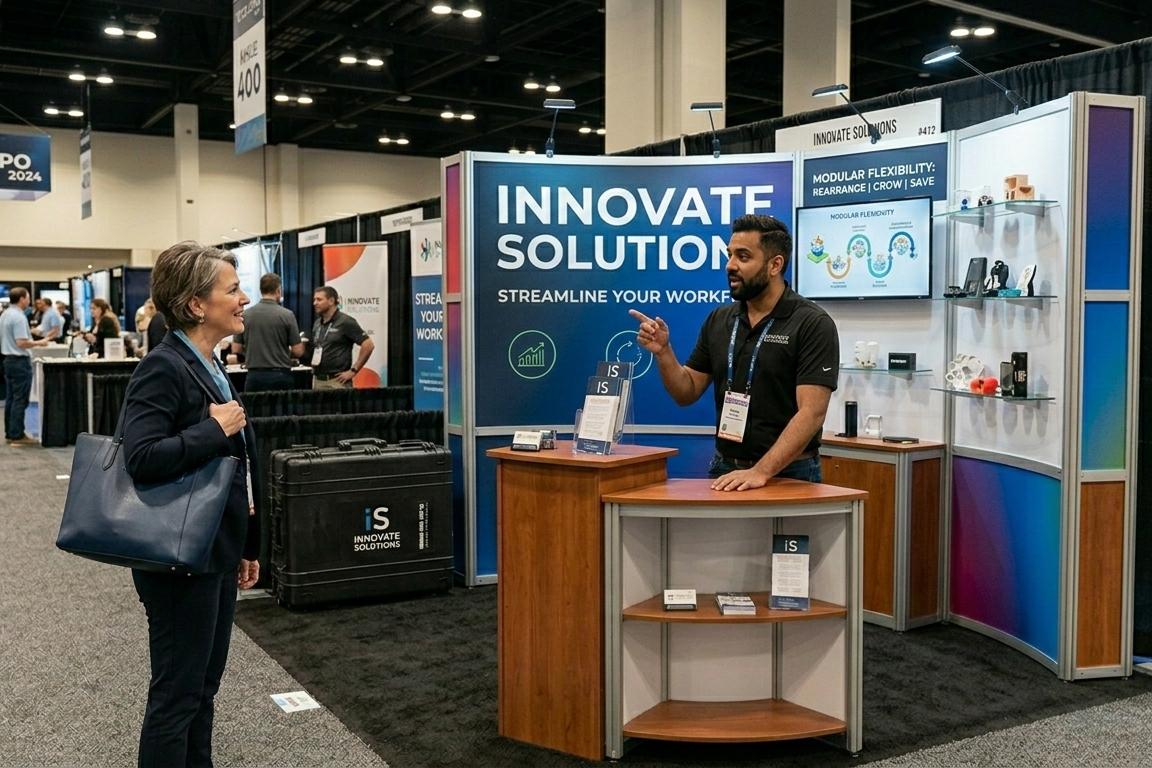
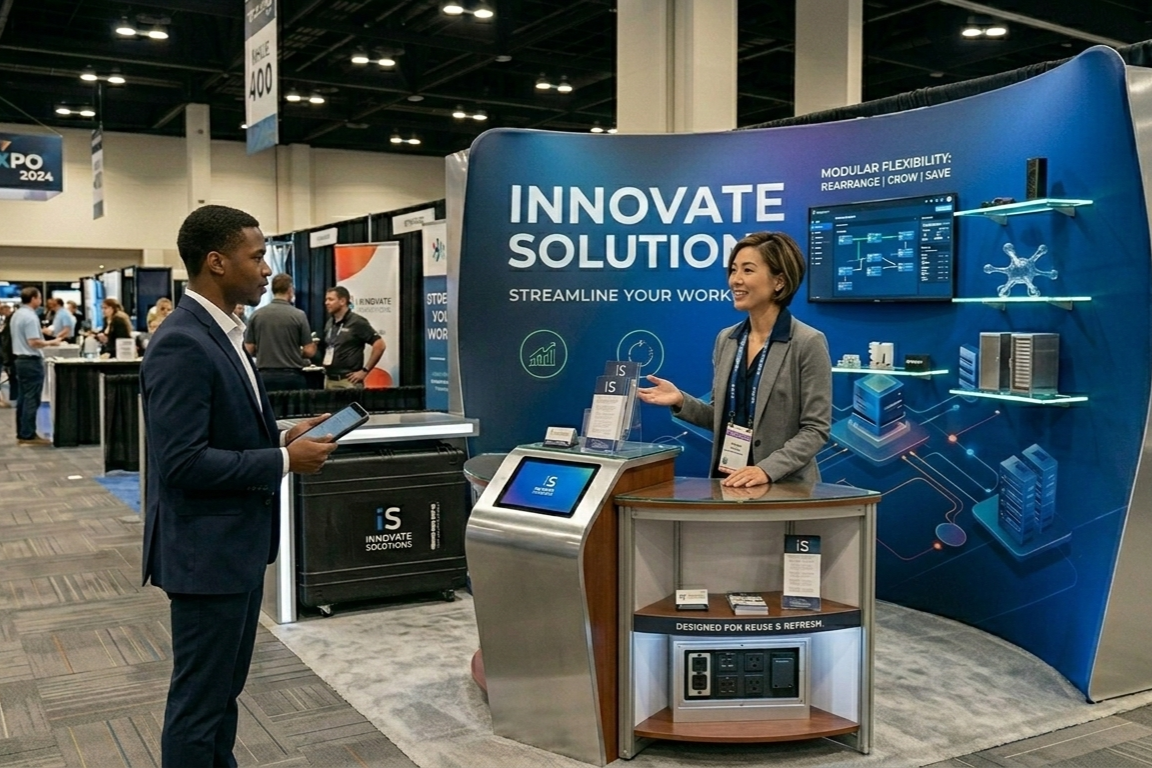
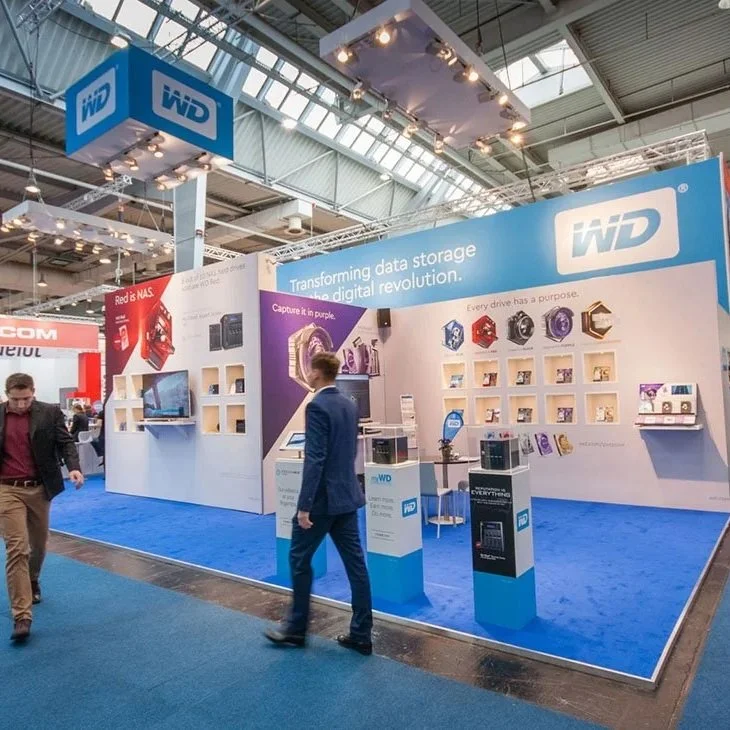
Modular systems use frames, panels, and accessories that can be rearranged into different shapes and sizes.
They suit brands that exhibit several times a year and need to adapt from smaller spaces to larger footprints.
You can add shelves, counters, lighting, and even digital screens as you go, which makes them a good fit for anyone watching long-term costs and waste.
Custom builds are where you go all in. Think bespoke structures, sculpted elements, large-format fabric graphics, and integrated tech.
They’re best for flagship events where you want your booth to feel like a destination in its own right.
The upfront cost is higher, but pieces can often be reused or refreshed over several seasons if they’re designed with that in mind.
You might think about them roughly like this:
Pop-up: markets, small shows, simple messaging.
Modular: repeat events, growing schedules, multiple booth sizes.
Custom: major expos, big launches, and moments when you need to stand out in a crowded hall.
Design Tips That Help Your Displays Stand Out
Once the hardware is chosen, the design work is what makes people actually notice you.
Keep graphics clear and readable
Use high-quality images and keep your main headline short and bold. One strong promise or benefit beats a paragraph of small copy every time. Match your colors and fonts to your website and other marketing so the booth feels like a natural extension of your brand.
Use height to your advantage
Taller towers, headers, and raised elements pull eyes from farther down the aisle. Layer your visuals and products at different heights instead of lining everything up at table level. A few simple spotlights on key areas will make them feel more important and easier to notice in a busy hall.
Add simple interactive touches
You don’t need a full-blown tech installation for your displays to feel interactive. A small screen with looping demos, a QR code that leads to a quick video or case study, or a section where visitors can trigger content themselves all help people spend more time in your space.
Protect your traffic flow
Angle freestanding displays slightly toward the aisle instead of setting them up like a wall across your entrance. Leave enough open floor area for people to step in, turn around, and talk without bumping into others. Think about where you want conversations to happen and place your displays so they guide people there naturally.
Make setup and transport less painful
Cases that double as counters, lightweight fabrics, and components that pack down into a few manageable pieces can save your team a lot of headaches. The easier your displays are to move and assemble, the more likely your staff will set them up correctly and use them to their full potential.
Budget Ranges and What You Actually Get
Planning your display budget upfront keeps you from overbuying for a small show or underinvesting in a major event.
Starter range (about $500–$2,000)
You’re typically looking at a basic pop-up wall, printed graphics, and perhaps a branded table cover.
This is perfect for craft fairs, local expos, and early-stage exhibitors who need something professional but simple.
Mid-tier range (roughly $2,000–$7,000)
Here you’re into modular frames, better lighting, double-sided prints, and a few extra accessories like shelving or a small product rack.
This range works well for regional shows and companies that exhibit several times a year and need their setup to do more than just look nice.
Pro level (from around $7,000 and up)
This is where custom structures, integrated audio-visual elements, and rentals like furniture and extra fixtures come into play.
It’s the territory for national shows and high-stakes events where your booth is a key part of your launch or sales push.
Whatever level you’re in, remember to account for shipping, handling, and insurance, and think about how many shows you’ll use the same display before it needs refreshing. A good partner can quote complete packages that roll design, printing, and even installation into one plan so you’re not guessing.
Practical Tips to Get More From Your Displays (and Activations)
A few smart habits can turn basic displays into an activation-ready booth that people actually line up for.
Look at your booth like an attendee
Give your games and activations the best real estate
Use displays to guide the journey, not just decorate.
Stand 10–20 feet back in the aisle and ask: “What makes me curious enough to walk over?”
Your main message and at least one game or activation should be clearly visible from that distance, not buried behind a wall of graphics.
Make staff and displays work together
Position your most outgoing team members right next to your key activation, not hiding behind a counter.
Their job is to invite people into the game or experience first, then transition into a quick conversation once the interaction wraps up.
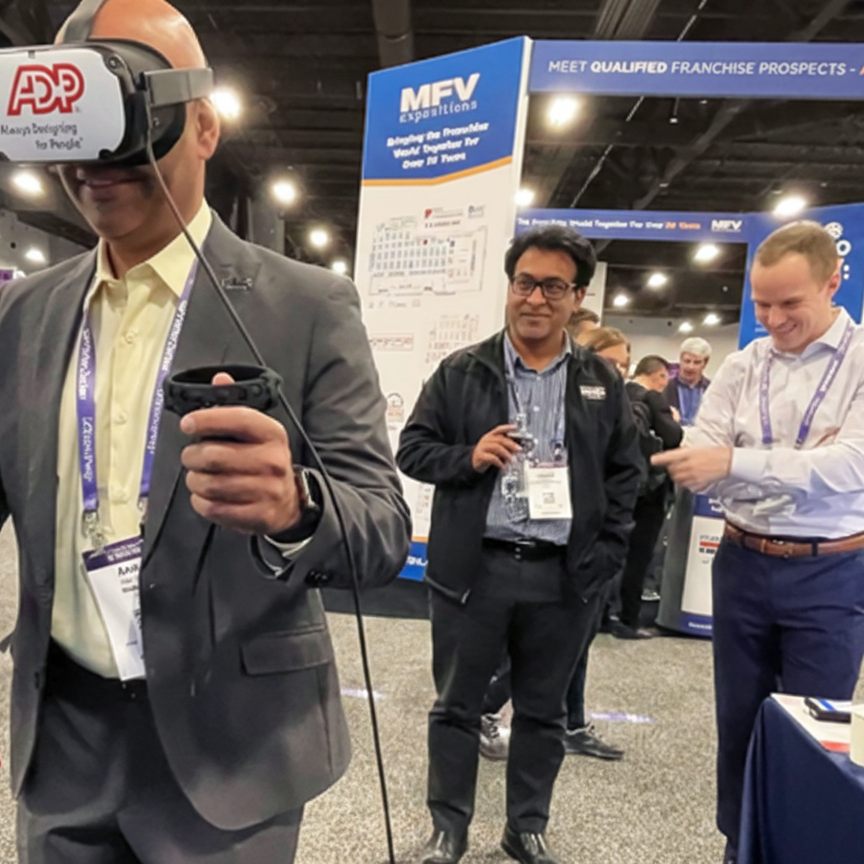
Place prize wheels, digital games, VR, or other activations on or near your main display structures so they’re impossible to miss.
Use headers and side panels to explain in plain language what people can win or experience in under five seconds.
Tie prizes and promos into the display content
If you’re giving away swag, discounts, or entries into a bigger prize, work that into your display copy and visuals.
Mount sample items on the wall, show real prize photos, and keep the rules simple so people feel confident stepping up to participate.
Think of your displays as signposts that move people from “What’s going on?” to “I want to try this.”
Entry graphics should hook curiosity, mid-booth displays should support the game or demo, and the back of the booth should make it easy to talk, scan badges, and capture leads.
Keep testing and adjusting between shows
After each event, note where people naturally gathered, which games or activations pulled the most traffic, and which graphics seemed to get ignored.
Use that insight to tweak where displays sit, what they say, and how they frame your next activation instead of rebuilding from scratch every time.

Ready to turn your new displays into a booth people actually line up for?
Share your booth size, show dates, and budget, and the Trade Show Labs team will recommend the right mix of displays plus high-impact games and activations that fit your footprint, then handle setup so you roll in to a booth that’s already buzzing on day one.
William Griggs
Founder @ Trade Show Labs